How to Install 9AM Spawn Selector (ESX, QBCore)
Set up a modern FiveM spawn selector with multiple spawn locations and a clean UI. Installation, configuration, and launch tips for ESX and QB roleplay servers.

First Impressions Happen at Spawn
Think about a new player's first minute on your server. They pick a character, and then they spawn. On a lot of servers that second step is a hardcoded point or a menu nobody has touched in years.
The 9AM Spawn Selector turns it into an actual choice. Last location, apartment, a district across the map, all presented in a clean modern UI. It runs on both ESX and QB, and a client data cache keeps the whole flow quick.
What You Get
You define the spawn locations and players pick from them on a clean selection screen. Last position, home, motels, districts, event spots, whatever fits your server. Where players enter the world shapes where roleplay happens, so spreading spawns around the map also spreads activity around the map.
The UI looks like it belongs on a current server rather than in a 2019 forum release. And because spawn data is cached on the client, the screen opens fast even during a restart rush when everyone reconnects at once.
One script covers both ESX and QB, so it survives a framework migration too.
Installation
Step 1: Place the Resource
Download the script from your Cfx.re Portal after purchase and extract it into your server's resources/ folder, keeping the folder name from the download.
Step 2: Set the Start Order
The framework has to start first. In server.cfg:
ensure es_extended   # or qb-core
ensure <spawn-selector-resource>
If you run a multicharacter script, start the spawn selector after that as well. Character selection first, spawn selection second.
Step 3: Add Your Spawn Locations
Open the config and define your spawn points: the display info players see in the UI plus the coordinates where they land. A solid starting lineup for most servers:
- Last location for returning players
- Home or apartment for property owners
- Two or three districts, say Legion Square, Sandy Shores, and Paleto Bay
Grab coordinates in-game with whatever coords command you already use and paste them in.
Step 4: Restart and Check Everything
Restart, connect, and pick every location once yourself. Verify the coordinates and camera behavior before your players do it for you.
Tip: Keep the list short at launch. Four or five strong locations beat fifteen unused ones. You can always add event or faction spawns later.
Pair It with a Multicharacter Script
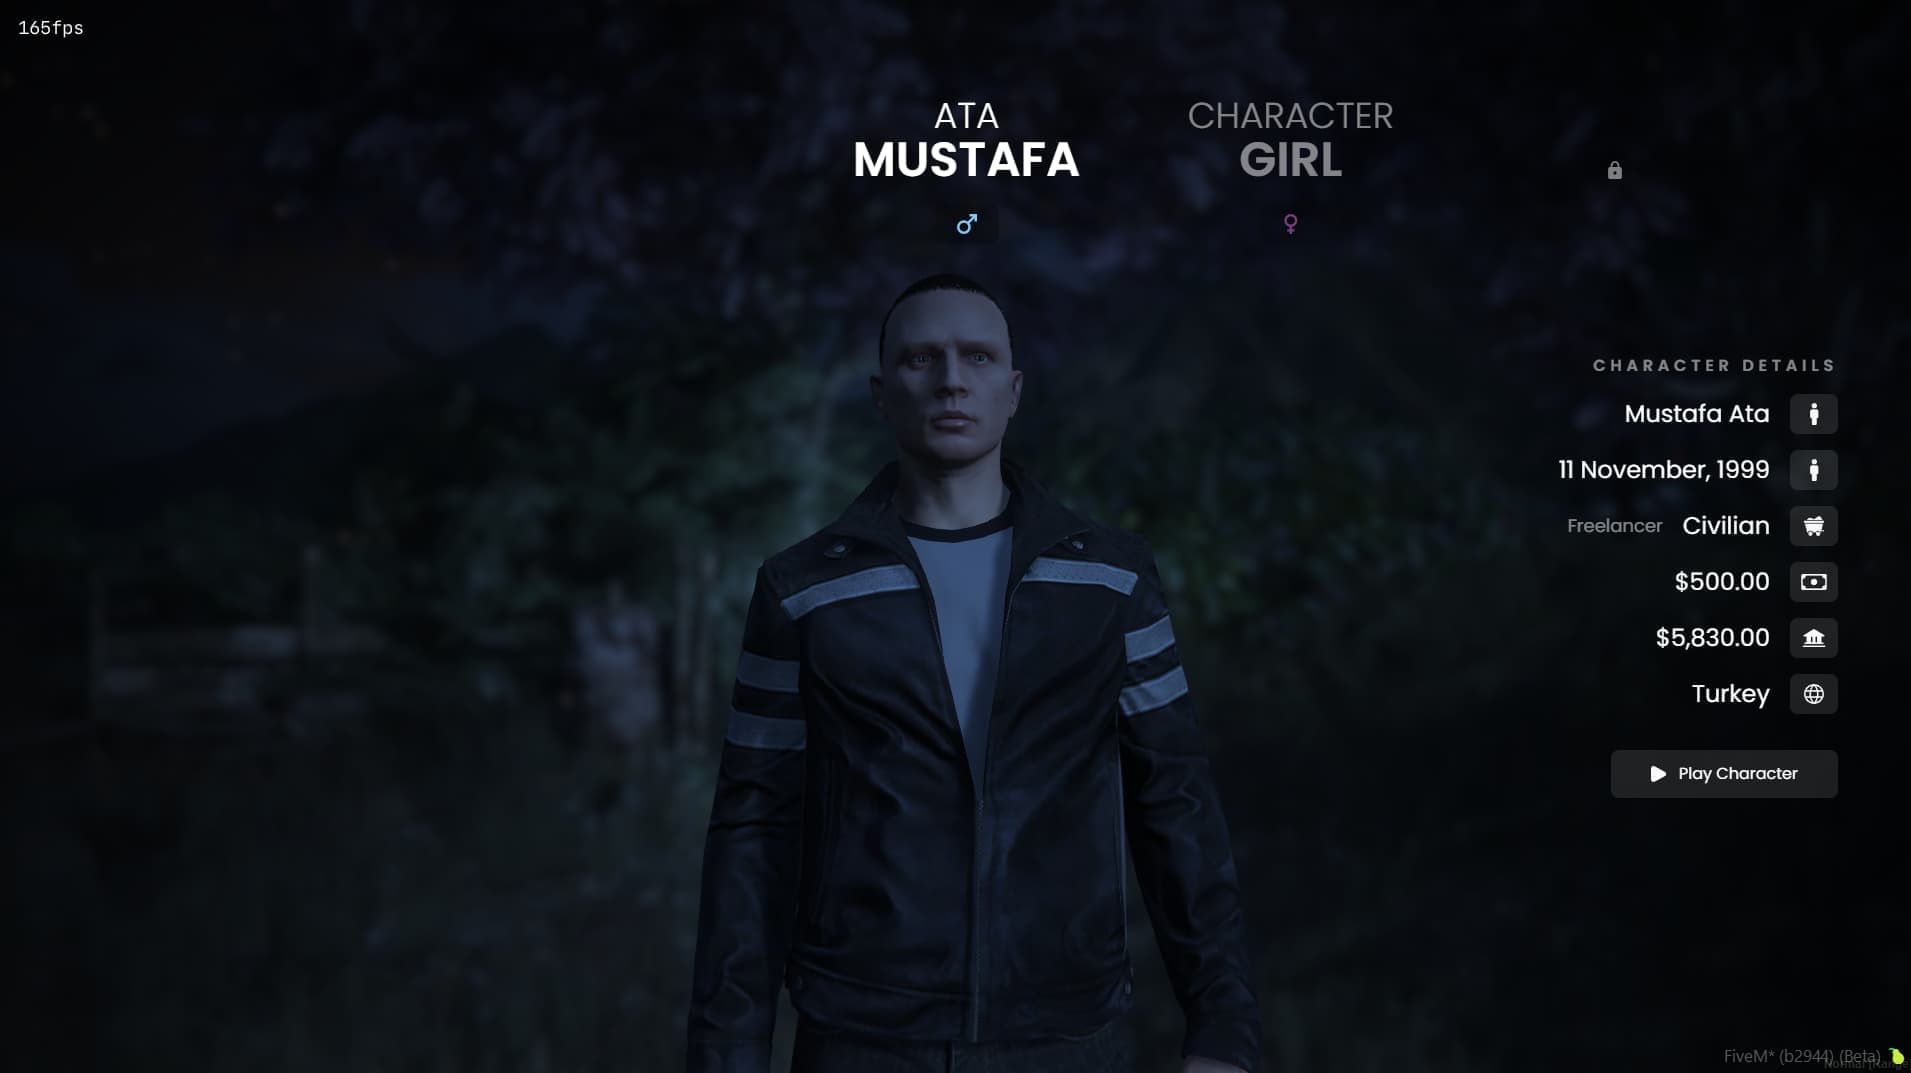
Spawn selection is the second half of the join flow. If your character screen still looks stock, the 9AM Multicharacter script uses the same design language, and together they cover the whole journey from connect to street.
Escrow or Open Source?
Same features and config in both editions. Open source adds the full source for teams that want to restyle the UI or hook custom logic into the spawn flow. If you just want a clean working spawn selector, escrow is enough.
Get Started
Players decide what they think of a server before they've driven a single block. Make those first seconds feel intentional.
FiveM Spawn Selector Script
Multiple spawn points, client data cache, and a modern UI for ESX and QB servers.
More details in the spawn selector documentation.